Easy Frost in a Can Science Experiment for Kids
With the classic frost in a can science experiment, kids can learn all about how frost forms and why salt makes ice melt faster. Little science lovers will have a blast making their very own frost in the classroom. Who knew you could make it freeze without ever stepping foot outside?

Recommended Grade Level:

The frost in a can science experiment is a fun way to show kids how frost is formed. This activity is especially fun for kids who live in areas where snow and ice aren’t as prevalent on the ground. It’s a fun way to get kids who live in warmer climates to get a taste of winter right in the classroom!
Make sure that when you’re gathering cans, you use a safety can opener so there is no way for the kids to cut their fingers on the cans. For greatest effect, collect a can for every student in your class.

Talk for a few minutes about how condensation forms. Next, talk about how frost can form if the condensation freezes.
Show the kids how this works with the frost in a can experiment.
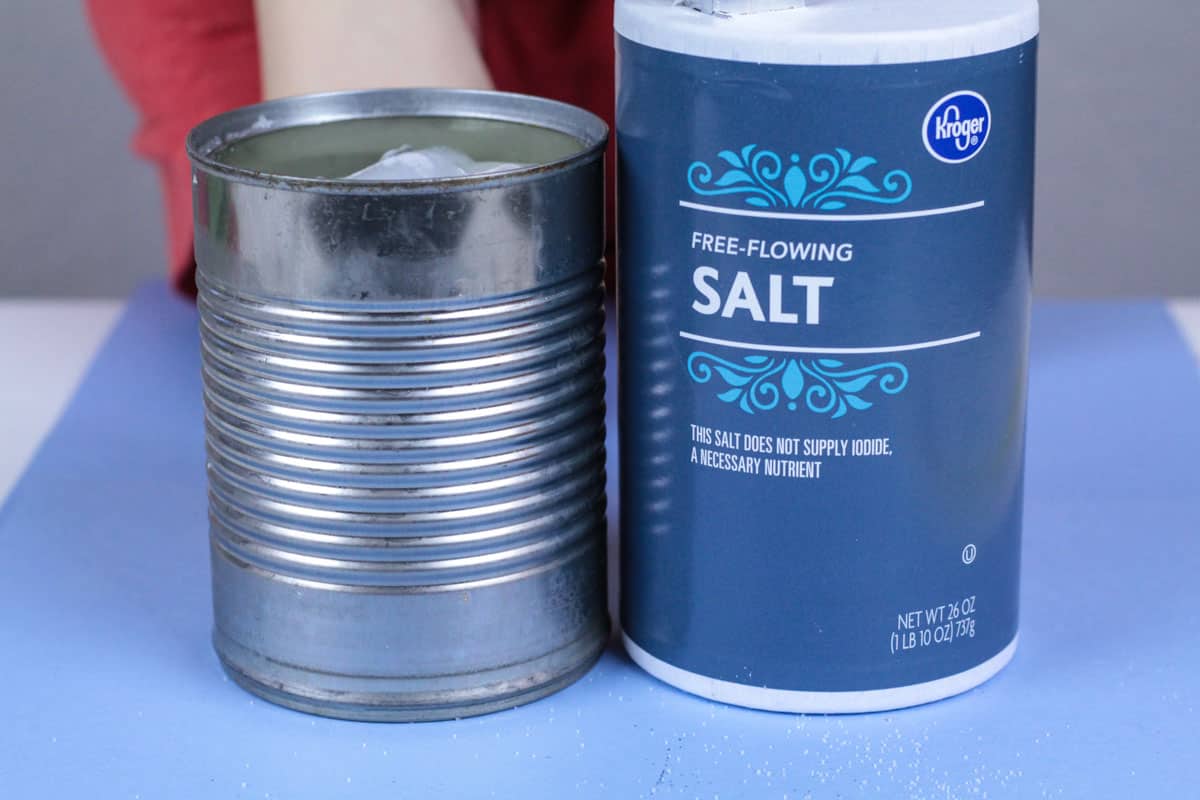
Fill each can with ice, then fill about halfway with water.
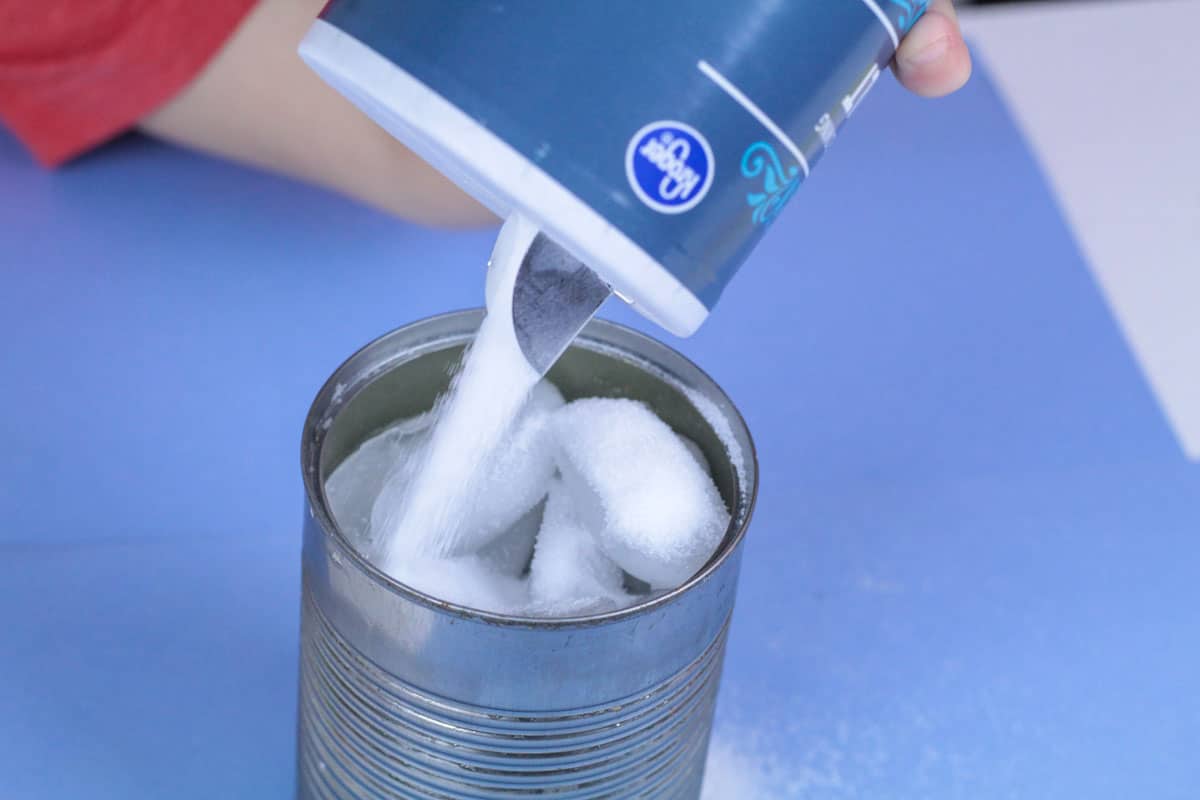
Pour some salt onto the top of the ice to get the melting point of the ice to drop.
Shake the can gently, and watch. After about two minutes, you will get a thick layer of frost across the sides of the can.

If the experiment isn’t working, you might have too much water or not enough ice in the can.
Some of our Favorite Science Experiments:
More Winter Science Experiments:
Free Winter Printables:
Search All Activities
Looking for more? Find exactly what you need here:


