Easy DIY Finger Paint for Kids
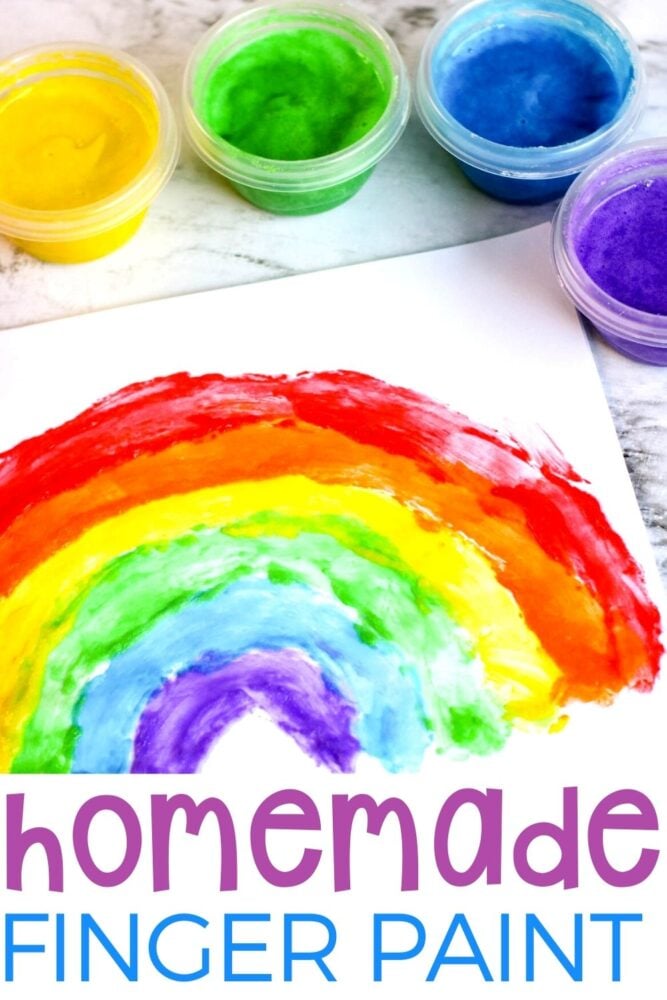
Are you familiar with the life cycle of those tubs of finger paint on Amazon? What was once an inviting rainbow of colors inevitably turns into tubs of grayish/brownish sludge. While it may still function as paint, it certainly doesn’t invite anyone quite like the rainbow did. Rather than spending all that money on finger paint from a store, make finger paint for kids with this simple homemade recipe.

Recommended Grade Level:
Homemade Finger Paint Supplies:
- Medium saucepan
- Small, air tight containers (1 for each color desired)
- ½ teaspoon salt
- ½ cup corn starch
- 2 cups water
- 2 tablespoons liquid dish soap
- Gel food coloring
Knowing how to make your own finger paint is a valuable skill as a parent, teacher, or childcare giver. This easy recipe provides an amazing sensory activity for kids while allowing them to exercise those creative muscles.
Homemade DIY finger paint solves all your problems! Your child can be a part of the entire process, from mixing and cooking to those first finger strokes on paper. When that finger paint for kids starts resembling the oil on the garage floor, just mix up a new batch with a few simple ingredients!
Benefits of Finger Painting with Kids
It’s nice to have a few dependable kids’ activities to fall back on when it’s a rainy, snowy, windy, hot, or an I’m bored kind of day.
Finger painting is an art activity you can keep coming back to. It offers many benefits for kids of all ages. It might seem like those first finger painting sessions are no more than a huge, sloppy mess. However, your little one is gaining a lot of perspective on the world around them.
Finger painting strenthens:
- Fine motor muscles and coordination
- Language (as long as you TALK to and with young learners during the activity)
- Creativity and Imagination
- Sensory integration (taking in information with the senses and responding appropriately)
- Confidence and pride
- Curiosity
How to Make Homemade Finger Paint Recipe
Supplies:
- Medium saucepan
- Small, air tight containers (1 for each color desired)
Ingredients:
- ½ teaspoon salt
- ½ cup corn starch
- 2 cups water
- 2 tablespoons liquid dish soap
- Gel food coloring

How To:
- Combine all ingredients in a medium saucepan.
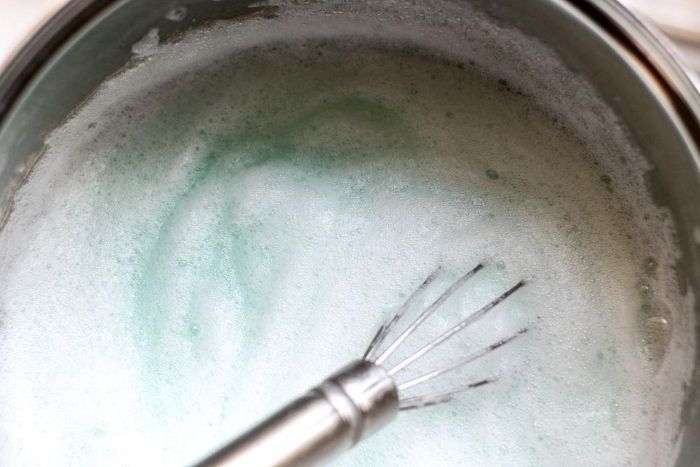
- Cook over medium heat. Stir constantly until the mixture thickens into a jelly consistency. The paint will thicken slightly as it cools.
- Divide mixture into separate containers. Add gel food coloring as desired and stir to combine.
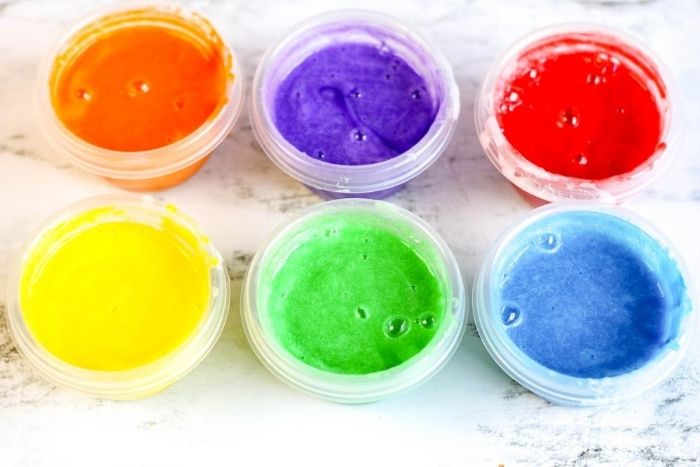
- Store in airtight containers at room temperature for up to 7 days. Paint may need to be stirred prior to use.
🌟 Manage the Mess!
Get tips, tricks, and tools to make messy play and art easy to manage.
Finger Painting Ideas for Kids
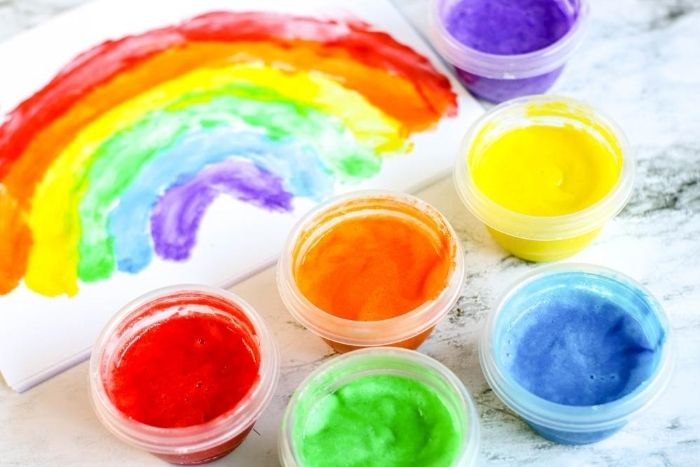
One of the best things about finger painting as an art activity is the freedom of it. There are no paint brushes and no rules! Children can explore their senses and use their creativity to create what they like!
Finger painting can be tied to any theme, from Asteroids to Zebras! Assign a particular animal, shape, color, letter, or number. Or don’t. It’s okay to let your child’s imagination run wild!
Finger paints also lend themselves nicely to a lesson in color mixing. Mixing primary colors into secondary colors is typically a hit with young explorers. It’s truly magic before their eyes.
- Blue + Yellow = Green
- Red + Yellow = Orange
- Red + Blue = Purple
Alter the amount of food colouring to soften or enrich the colors as desired.
You don’t even have to use paper. You might consider placing babies or toddlers in a high chair and letting them use the tray as their canvas.
Use homemade finger paint during bath time to paint on the tub or surrounding walls. Clean up will be a breeze if you hand over a wet washcloth and let your kiddo do the “work”!
Consider edible finger paint with cornstarch recipes for babies and toddlers, when the primary means of exploration is often straight to the mouth! Common recipes are pretty simple (corn starch, water, add food coloring) or flour and water, add food coloring, done!
Check Out These DIY Paint Recipes Next
Process Art Painting
Try any of these coordinating painting activities
- Lemon Painting
- Toilet Paper Roll Sun Painting
- Snowflake Fork Painting
- Apple Theme Finger-painting in a Bag
- Glitter Heart Ice Cube Painting
Search All Activities
Looking for more? Find exactly what you need here:


