Easy Apple Painting Idea for Kids
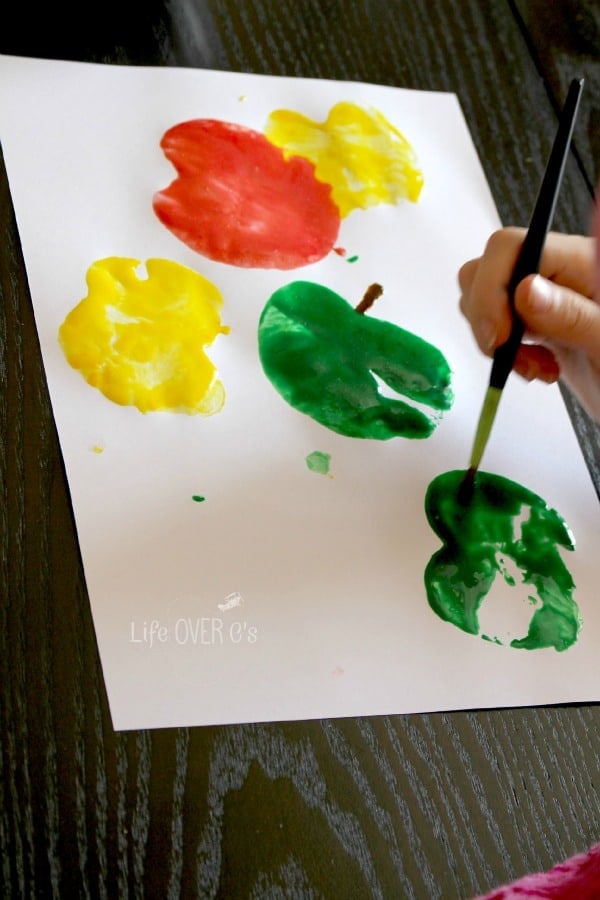
It occurred to me a few days ago, with all this apple theme preschool stuff going on, that my kids had never done apple painting. Gasp! Crafty ‘ole me had never done this with them! This required a special trip to the grocery store (because we didn’t have any apples), but it was totally worth it! The kids loved this apple activity!
I know you probably know all about painting with apples and right now you’re saying “ho hum… this is always in my apple lesson plans…”
But, I have a few unique (at least I think so) things that we did with our apple tree paintings, that I would like to share with you. So, keep reading, even if you’ve done ALL the apple activities for preschoolers!

Recommended Grade Level:
Learning Process Art in Preschool
APPLE ART FOR PRESCHOOLERS
PROCESS ART FOCUSES MORE ON THE PROCESS OF CREATING IN UNIQUE WAYS, RATHER THAN ON THE OUTCOME OF A PERFECTLY PAINTED APPLE TREE.
I love process art because it allows kids to develop creativity and problem-solving while engaging senses in different ways.
Toddlers and preschoolers benefit from process art in a lot of ways, from fine motor development to developing neural connections within the brain.
It’s a great opportunity to work on oral language, apple-related vocabulary, or the life cycle of an apple from seed to tree.
This apple painting activity is fun to do with other preschool apple themed activities, or it can stand alone as just a fun apple painting project.
In addition to creating a nice apple craft for kids, this process art activity improves other skills. Encourage talking while painting:
- What color(s) are you using?
- What happens when the colors mix?
- What does the paint look/feel/smell like?
- Can you make a pattern with your apple prints?
What Can Children Learn While Engaging In Process Art Crafts for Preschoolers?
EASY APPLE CRAFTS
PRESCHOOL APPLE CRAFTS GO BEYOND A FINISHED PRODUCT. EXPLORING WITH TOUCH AND SMELL WHILE INTERACTING WITH SHAPES AND COLORS IS A GREAT EXPERIENCE ANY TIME OF YEAR.
Whether you’re working on fall crafts or Christmas ornaments, process art has its benefits:
- Fine motor control
- Pre-writing skills
- Colors/patterns
- Attention span
- Social skills
- Language
- Crossing the midline
- Hand-eye coordination

Why Is It Important For Kids To Create Art Projects?
Children are naturally curious about everything around them. Art projects engage the senses and promote cognitive development.
Background Knowledge: Creating art projects in a variety of themes, from preschool art with apples to astronauts, gives kids a lot of valuable background knowledge and vocabulary to apply to other learning and topics.
Shapes and Colors: Art projects are an amazing way to teach shapes, colors, lines, and textures without even trying!
Creativity: In order to become creative thinking people, kids need opportunities to try it out! They need freedom to explore and create in ways that they feel like, not how someone else shows them to do it.
Fine Motor Skills: When it comes down to it, art projects are amazing vehicles for building fine motor muscles. Art requires control in the hands for painting, drawing, cutting, gluing, sprinkling, etc., With each art project completed in preschool, those muscles are getting stronger and stronger.
Apple Painting Tips & Tricks
Tip One:
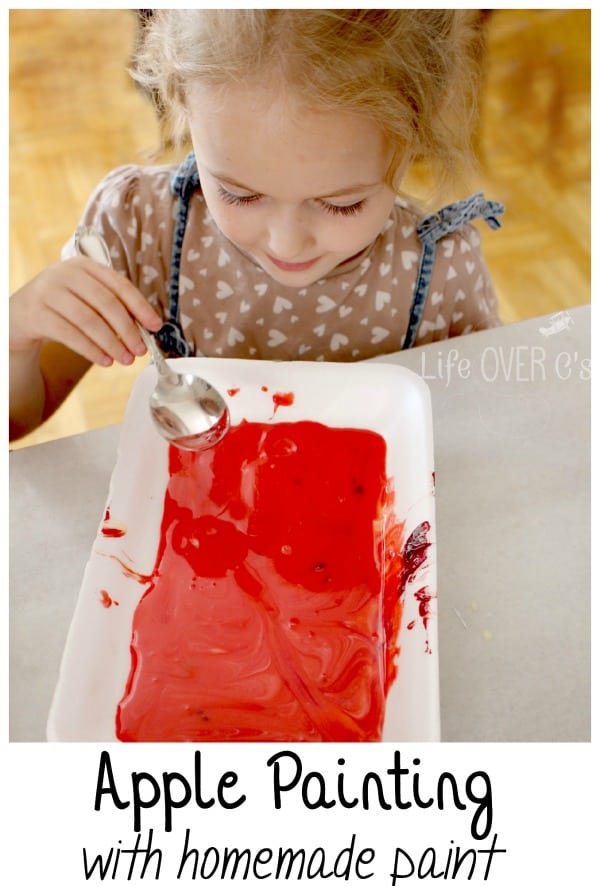
You don’t have to buy a big bottle of paint for this apple painting. If you are like me and your paint supply has sadly dwindled, you don’t have to buy anything special. IF you have a can of sweetened condensed milk in your cupboard, that is.
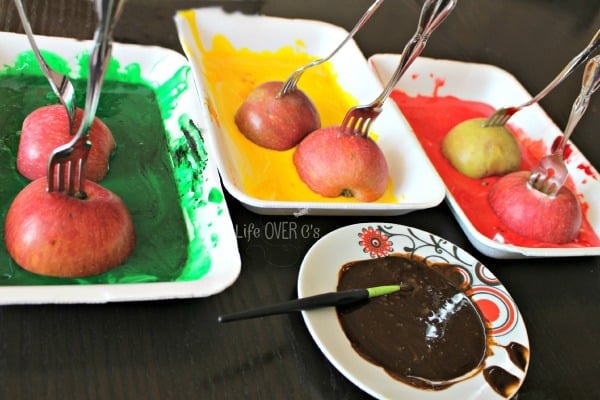
I divided one can of condensed milk into three styrofoam trays (good for reusing things before they go in the trash and super easy to clean up!). And a little bit extra onto a plate.
I added some gel food coloring. I absolutely love Wilton gel food coloring, so I definitely recommend buying some, but if you don’t have any you can use whatever food coloring you have on hand.
Swirl it together. Let the kids do this because it’s so fun to watch it change colors.
Tip Two:
Stick a fork in it.
Really.
Stick a fork in the apple to use as a handle.
It is so much easier to hold than the apple itself, plus, since you’re using sweetened condensed milk, your hands won’t get as sticky if you use a fork to keep some distance between you and the paint.

Tip Three:
You don’t only have to make apples, though those are fun.
You can use the apples as paintbrushes to make any kind of design your can think of.
My kids made roses, a ‘rose’ that looks more like a tulip, trees, and Emma made the letter ‘E’ by printing the apples into formation.

Ways to Extend Your Apple Activities
Dramatic Play
While you’re waiting for your apple painting to dry, why not engage in some dramatic play?! Pretend you’re Johnny Appleseed planting across America.
Make Pie
Of course some tasty apple pie goes well with any fall or apple themed art project. Make it together, or go to the store and buy it!
Play Dough
Instead of using paint as your process art medium, try playdough. Press apples into play dough to see what kinds of designs and shapes you can make.
Do you love this activity?
Pin it for later!

More Apple Activities You’ll Love:
- No-Cook Apple Cinnamon Play Dough
- Mess Free Apple Theme Painting
- Melted Bead Apple Suncatchers Craft
Looking For More Apple Ideas?
How About More Perfect Painting Activities?
Search All Activities
Looking for more? Find exactly what you need here:


