Easy Homemade Play Dough Recipe for Kids
I made my first batch of this homemade play dough recipe for kids out of necessity. Those old, smelly store bought cans of Play Doh had become enmeshed into one shade of gray/brown that NO ONE wanted to play with anymore.
But, after that day, I fell in LOVE with homemade play dough because it’s so easy, versatile and fun. There are a ton of different recipes out there. I have found that it’s best to stick to the basics, which is why I love this recipe!
Recommended Grade Level:
Easy Homemade Play Dough Supplies:
- Medium cooking pot
- Waxed paper/freezer paper/parchment paper (your choice)
- Airtight container for storage
- 3/4 cup all purpose flour
- 1 1/8 teaspoon cream of tartar
- 3 1/2 tablespoons salt
- 3/4 cup water
- 2 teaspoons vegetable oil
- Food coloring (gel food coloring yields brighter colors)
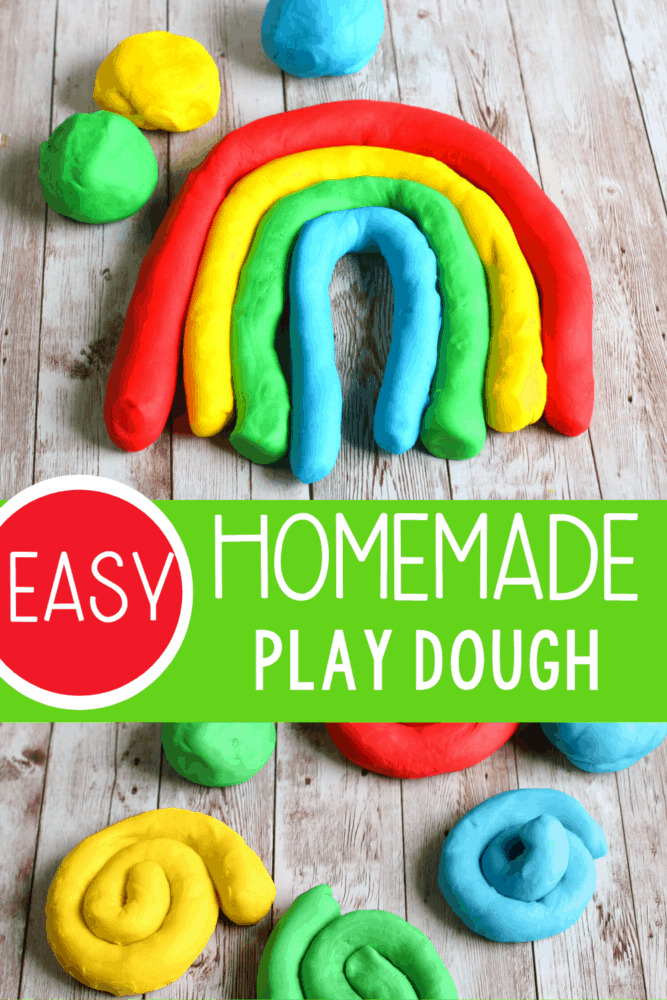
Making an easy homemade playdough recipe gives kiddos the opportunity to learn about mixtures and recipes while offering the added benefit of creative play. This easy homemade play dough recipe for kids comes together with a few items from the pantry (flour, salt, cream of tartar, oil) and allows you to customize colors and scents. The recipe is quick, easy, non toxic play dough that lasts a long time!
Learning with Play Dough
Knowing how to make play dough at home is the gateway to a multitude of learning opportunities for your child. You can fit it into any current theme, topic, or obsession your young learner craves.
Support Early Childhood Skills Through Play Dough
Playing with play dough supports a variety of early childhood skills and concepts:
- Language development
- Social skills (when used in a peer group)
- Fine motor grips and coordination
- Creativity
- Role play
- Math and Science skills
- Colors
Making Play Dough with Kids
I would encourage you to make the play dough WITH your child as a lesson/activity in mixtures. Talk about the process, help your child measure and stir ingredients, and help them feel empowered as you support them through the process.
Open-Ended Play and Learning
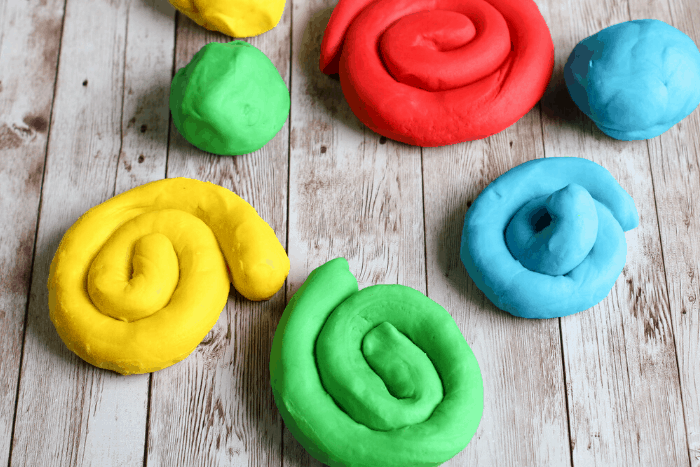
Once the play dough is made, you have so many options! Create a scene/characters from a favorite book, create basic shapes, use props (ie., Legos, action figures, toy cars) from the toy bin to create fun scenes, or simply let your child decide what to do. You might be surprised!
Develop Language Skills through Play Dough Exploration
Encourage your child’s language development by asking open ended questions, “Tell me about what you made,” or “How did you think of that?”
Remember to praise his or her creativity/concentration/perseverance as opposed to focusing all the praise on the physical outcome of the project.

Homemade Play Dough Recipe
The following recipe is for ONE BATCH/ONE COLOR. If you want to cook play dough batches in a variety of colors, follow the same steps and ingredients for each color.
The other option is to double/triple the ingredients to make one big pot of play dough (leaving the color out) and then portion it out and color as desired. However, this can get messy and laborious to knead the coloring into the pre-made dough.
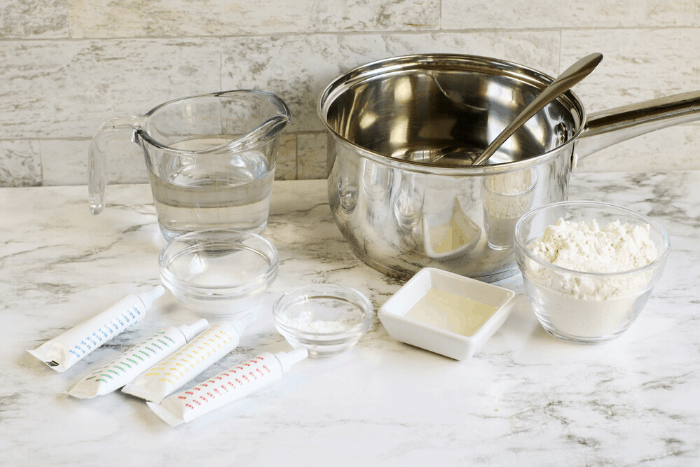
Supplies for Homemade Play Dough:
- Medium cooking pot
- Waxed paper/freezer paper/parchment paper (your choice)
- Airtight container for storage
- 3/4 cup all purpose flour
- 1 1/8 teaspoon cream of tartar
- 3 1/2 tablespoons salt
- 3/4 cup water
- 2 teaspoons vegetable oil
- Food coloring (gel food coloring yields brighter colors)
Step-by-Step Instructions for Homemade Play Dough
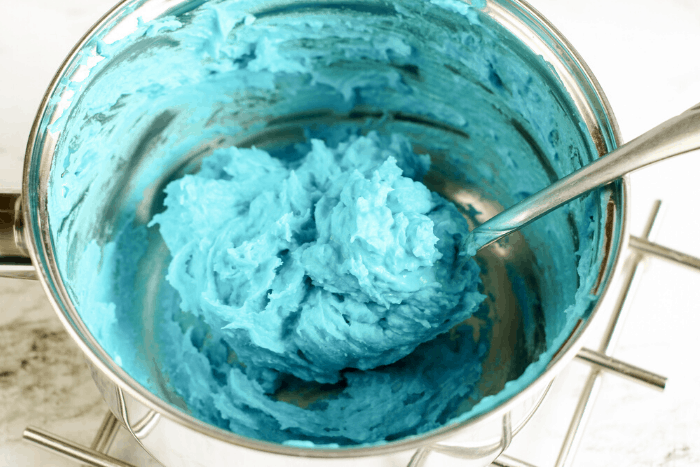
- In a medium pot, combine the dry ingredients (flour, cream of tartar, salt).
- Stir in water, vegetable oil, and food coloring
- Place the pot over medium heat, stirring constantly.
- When all the liquid is absorbed and the dough comes together as a ball, transfer to your waxed/freezer/parchment paper.
- When the dough has cooled enough to touch, kneed it until smooth, about 2 minutes.
- Store in an air tight container in the refrigerator up to 3 months.
Getting Creative with Play Dough Creations
Play dough is one of those classic, stands-the-test of time activities because of its versatility. Let your imagination (and your child’s) run wild as you create hands-on learning experiences for your young learner.
Here are just a few ideas I’ve tried:
- Color AND scent your dough by mixing in your favorite flavor(s) of Kool Aid or Jell-O like we did with our Green Apple Play Dough!
- Mix in your favorite essential oils and/or spices (during the kneading process) to fit a variety of themes or needs (ie., lavender is calming, cinnamon and cloves are oh-so-fall-ish).
- Need gifts for your child’s kindergarten or preschool teacher? Mix up a rainbow of colors to layer in a mason jar. Affix with a bow and you have an affordable, adorable gift!
- Pack a small container to keep in your go-bag or car for those times when your little ones need entertainment-quick!
- Roll the dough into a ball, press it flat, then grab anything you can find (plastic letters, noodles, rocks, small toys) to make imprints!
Try These Play Dough Recipes Next
- Pumpkin Pie Playdough
- 2-Ingredient Homemade Cloud Dough
- Easy, Homemade Edible Playdough with 2 Ingredients
Printable Play Dough Play Sets
Check out more sensory play ideas
- Cloud Dough Alphabet Smash
- School Supply Play Dough Mats
- Alphabet Play Dough Mats
- Life Cycle of a Butterfly Play Dough Mats
- Christmas Tree Shape Play Dough Mats
Search All Activities
Looking for more? Find exactly what you need here:


