Handmade Black Glue 3D Ornament Craft for Kids
Black glue is the perfect addition to make any craft pop. Use a bit of 3D magic to make these black glue 3D ornaments that you can hang on your Christmas tree! Kids of all ages can try their hand at these ornaments, and no two will be exactly alike! Let your kids choose whatever colors they like to make their holiday ornaments. If you don’t want to just use black glue, you can also decorate these ornaments with glitter glue, jewels, ribbons, or anything else you like. You can stick with the basic circle design we made here, or come up with your own designs! The durability of the paper plates is ideal for making a 3D ornament that will last from year to year. Don’t forget to have your kids write their names and the year on the ornament so you can remember how old they were when you made these fun crafts!

Recommended Grade Level:

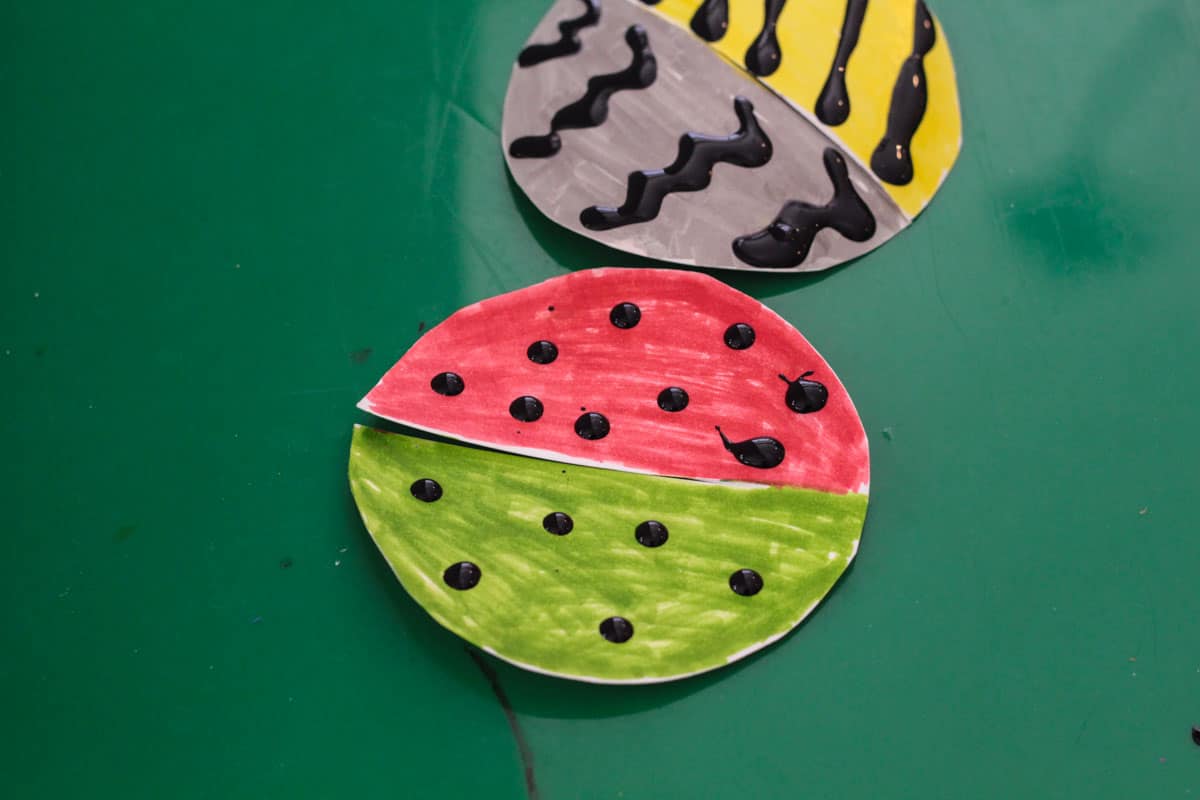
Cut out the inside circle from two paper plates. Trim it down some if you want slightly smaller ornaments. We cut about 1/2 of an inch extra around all sides of our paper plate circle to get this size, which was about as big as my palm.
Cut one of the circles almost all the way through the middle with scissors.
Color half of each circle a different color using washable markers.

Decorate the circles with black glue. Let the glue dry (this takes a few hours, or you can do the project over two days).
Once the black glue is dry, side the two circles together to make a 3D shape. Glue in place. We found using hot glue was the most reliable way to get the ornaments to hold their 3D shape without falling over.

Use a ribbon to add a loop to the top of the ornament and it’s ready to go!

Hang your 3D ornament from your Christmas tree, or make a whole garland of these for the classroom!
More Handmade Christmas Ornaments:
Fun Christmas Craft Ideas:
Search All Activities
Looking for more? Find exactly what you need here:


![Beautiful Christmas Paper Plate Wreath for Preschoolers 11 square photo of paper plate wreath painted green with farfalle pasta painted green with a red and black checked bow on a white wood background with text overlay [christmas wreath]](https://lifeovercs.com/wp-content/uploads/2024/11/Christmas-wreath-paper-plate-craft-for-preschool-sq-1-768x768.jpg)


