How to Make a Fun Wall Garland for Your Tween
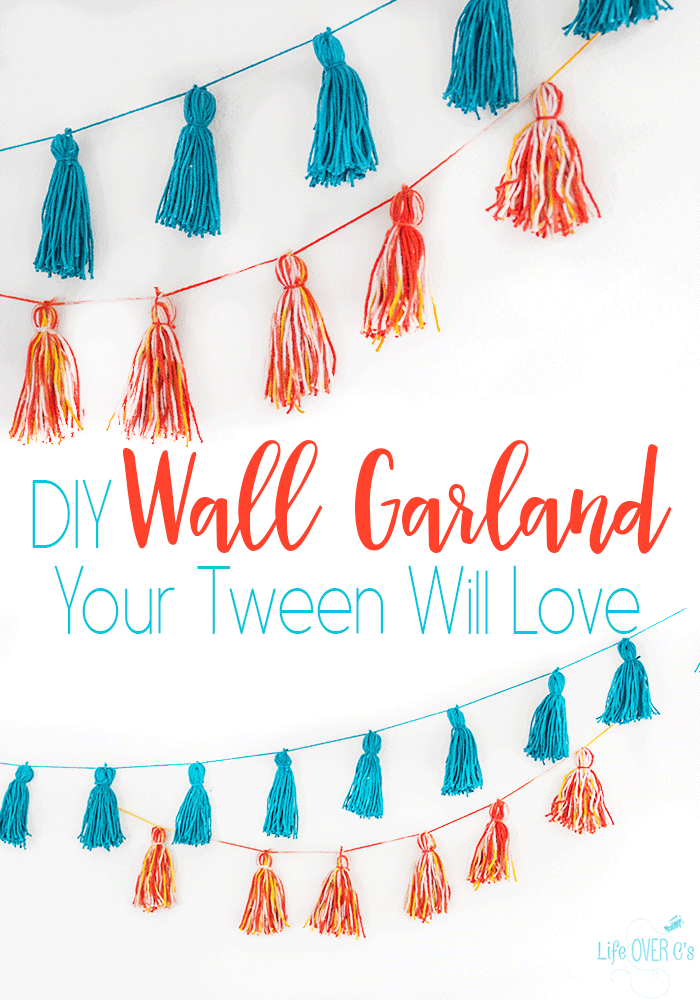
Finding room decorations for a tween who changes her favorite color or favorite style every five minutes is tough! I was totally going to decorate my tweens’ bedroom with superhero decor, but I’ve realized that I haven’t heard her mention any superheroes for over a month. One of the girls has changed her favorite color from orange to blue, to green to purple and oh, she still loves orange…. all within the last six weeks. And the last thing I want to do as a mom with hormonal tweens (and a teenager!!!!) is decorate their bedroom with something that is uncool. Well, really the last thing I want to do is pay a lot of money for said ‘uncool’ thing. Because it won’t last. So instead I decided on room decorations that we could easily and cheaply change up with their whims. I’m going to show you how to make an easy wall garland for your tween.
Recommended Grade Level:
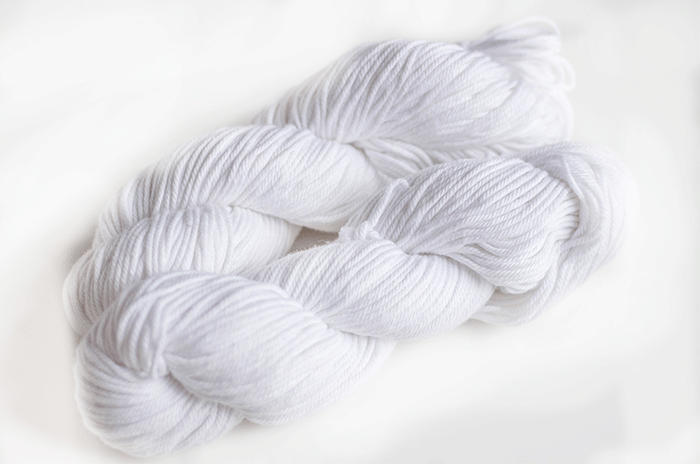
One thing my tweens have been obsessed with this summer is tie dyeing. We did some shirts a couple weeks ago and they had a blast. So, when I saw the white cotton yarn in the craft store, I knew we had to do something with it. I decided we would make a tie dyed wall garland for their bedroom which, sadly, has had almost no decorations since we moved in.
To start, prepare your dye according to the package instructions. Since there are several fabric dyes available and each have their own guide, it’s best to follow their instructions on the dyeing process.
I went with the dip dye method for this project, mostly because I was working with leftovers of dye and wanted to maximize what I had and also because my kids stashed my squeeze bottles somewhere and I couldn’t find them…..
To give the yarn multiple colors you can push one end into the bucket of the first color, then after the dye has dripped off dunk the other end into a different colors.
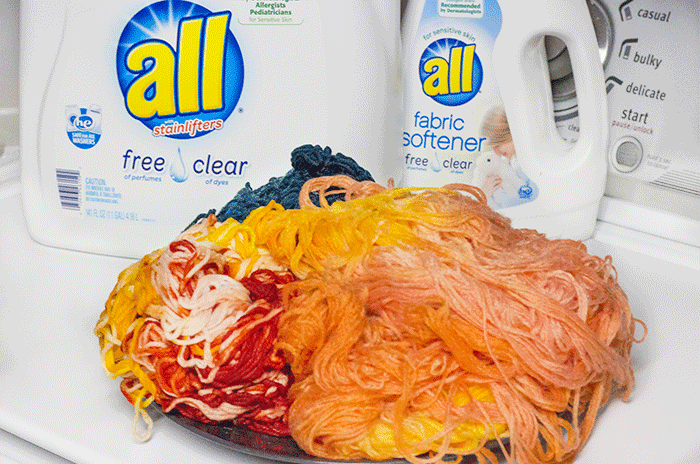
For our second skein of yarn, I went with a more uniform coloring, so I dunked it all in at once.
After you have followed the dyeing instructions on the bottle and have rinsed the yarn until no dye is coming off, you will want to wash the yarn. Follow the instructions on the packaging exactly for the size of load and washer you have. While no one will be wearing the yarn, you really do want to make sure that the excess dye is gone because if your kids accidentally get the garland wet, the dye would drip down your wall making a huge mess.
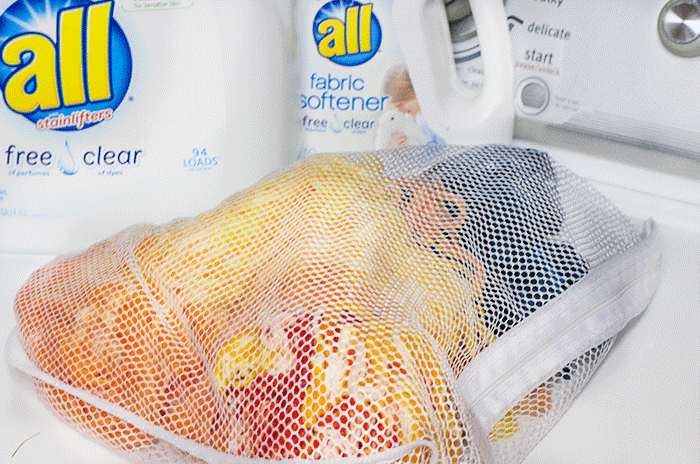
So do yourself a favor and wash the yarn before continuing with the project.
I slipped our yarn into a mesh laundry bag to minimize the knotting of the yarn. I noticed that our tie dye shirts have still been leaking dye in the laundry, so I added those to fill out the load a bit.
And can I just say how excited I am to be able to use fabric softener on our clothes!?!?! After living in Eastern Europe for so long and not having fabric softener to soften clothes to help make clothes more comfortable or a dryer, I am very appreciative of some modern conveniences.
Learn with Your Tween: Multiplication Puzzles Your Kids Will Love
Then, dry the yarn and roll it into a ball for ease of use.
To make the wall garland:
Cut a piece of cardboard about 4-5″ long and a couple inches wide. (width doesn’t really matter)
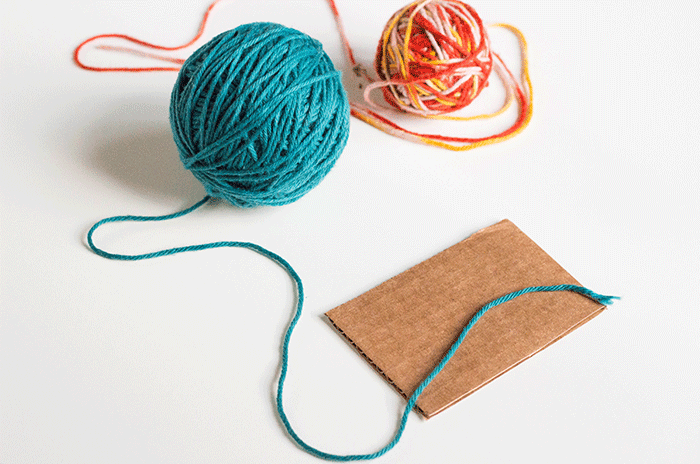
Wrap the yarn around the cardboard 40 times. Yes, 40. This will give you nice fluffy tassels.
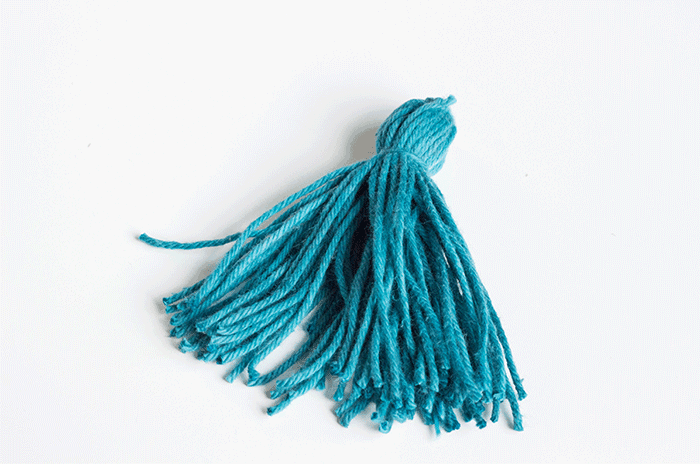
Thread a small piece of yarn through the top fold of the tassel and tie it into a circle.
Gently slide the yarn off the cardboard while holding tightly to the top fold of the yarn.
Tightly wrap a short piece of yard about 1/2″ from the top fold and knot securely.
Cut the bottom fold of the yarn to create the tassel.
Repeat as many times as you have patience…
10 tassels will nicely cover about 4 feet of wall space without being too crowded.
Repeat with the other color of yarn.
Cut a long piece of yarn. This will depend on how long you want your garland to be. You will want it to be slightly longer than the actual length of the wall space you are decorating so that the garland can hang nicely and not be pulled straight across.
Thread the tassels onto the long piece of yarn with even spacing. If you are using multiple colors you can create a pattern or make two contrasting garlands to hang together.
Hang your creation on the wall.
Smile because you know that when your tween changes her mind on her decor next month, you won’t be wasting a lot of money…
More Activities for Older Kids:
- Tie Dye Easter Eggs
- Beaded Suncatcher
- 10+ Sewing Projects
- DIY Headbands for Spring
- LEGO STEM Challenge Cards
Search All Activities
Looking for more? Find exactly what you need here:


