Fall Melted Bead Suncatchers Craft for Kids
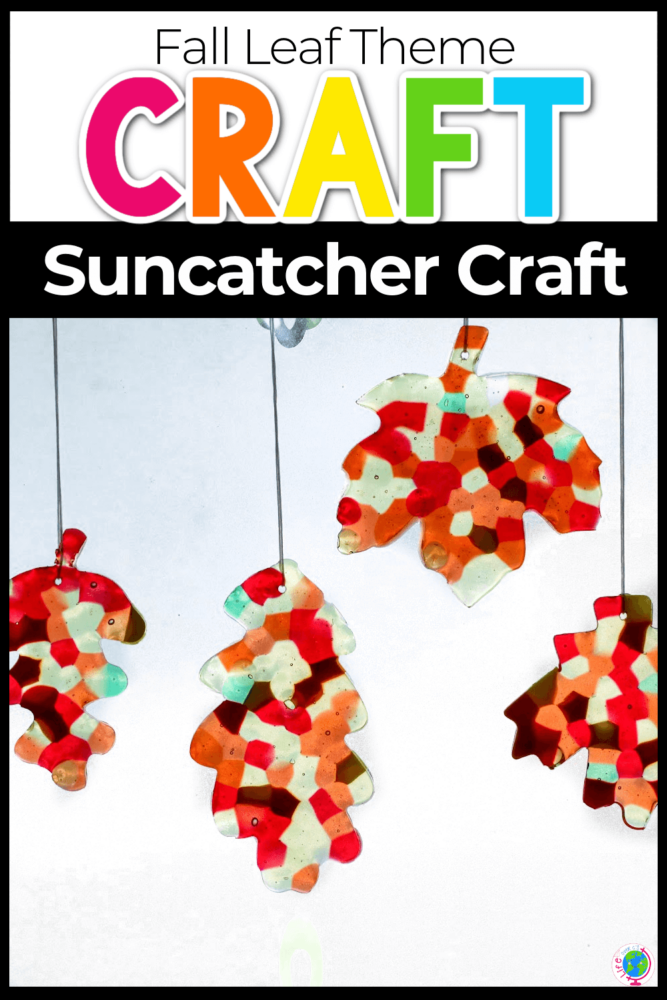
Fall is an amazing time of year! I especially love late fall. Students have school routines down, allowing teachers to really dig into important curricular skills. And the weather! Cool, sunny days, chilly crisp nights, and a natural showcase of greens turning to brown, red, yellow, and gold. Fall crafts like our Melted Bead Suncatchers help you celebrate the season while also pointing out some of Mother Nature’s work.

Recommended Grade Level:
Leaf Theme Suncatcher Craft Supplies:
- Plastic pony beads (fall colors-red, yellow, gold, brown, orange)
- Metal or clay cookie cutters (leaf-shaped)
- Tinfoil
- Baking pan
- Drill with 1/8 inch drill bit (optional for hanging)
- Ribbon (optional for hanging)
NOTE: Hama beads, also known as Perler beads or fuse beads, will also work to create the melted bead ornament.
Learning About Autumn:
Art is an avenue through which preschool students can explore and learn important concepts. It’s not always about the finished product, sometimes it’s about the process!
Exploring our four seasons is an important part of preschool. As children learn about the world around them, they begin to understand life a little bit better.
Fall art projects help young learners understand the how and the why of leaves turning colors and dropping to the ground, cooler temperatures, special holidays, and traditions.
Although it might feel like art projects are too messy, or too time-consuming, or too much prep, it’s important to remember this valuable learning that happens during each and every project.
This melting bead project can be adapted to any season or holiday simply by changing the cookie-cutter shape and the colors of the beads.

In addition to learning about the season for preschool and kindergarten, you can lead students to think about some important questions:
- When do the leaves begin changing colors?
- Why do some leaves turn yellow while some turn red?
- What happens to the grass in the fall?
- Are animals doing anything special during autumn?
- How do people change their habits in the fall?
What Can Preschoolers Learn From Melting Pony Beads?
Melting beads in the oven brings up wonderful scientific vocabulary and concepts!
- Predict what will happen to the beads when they go into the oven.
- How did the beads change?
- What caused the beads to melt?
- What other materials melt?
- What did you Predict? Observe? Discover?
Why Is It Important For Kids To Create Autumn Art?
Besides the fact that kids love arts and crafts projects, there are so many other reasons you should do art and craft activities with your child.
Develop a Child’s Creativity
Choosing bead color and design for their leaf shape increases confidence in a child’s abilities and allows them to be proud of what they created.
Hand-Eye Coordination
Activities like sprinkling glitter, placing small beads, and cutting out shapes from pieces of construction paper helps with hand/eye coordination
Fine Motor Skills
Selecting, placing, and arranging beads is tricky! It helps strengthen fine motor skills. Other projects might include cutting, squeezing a blue bottle, or sprinkling glitter which do the same.
Calming Space
Art activities can provide a safe space for children who are feeling upset or frustrated and need to calm down.
Materials Needed:
- Plastic pony beads (fall colors-red, yellow, gold, brown, orange)
- Metal or clay cookie cutters (leaf-shaped)
- Tinfoil
- Baking pan
- Drill with 1/8 inch drill bit (optional for hanging)
- Ribbon (optional for hanging)
NOTE: Hama beads, also known as Perler beads or fuse beads, will also work to create the melted bead ornament.

How To Do the Activity:
NOTE: Can pony beads be melted? Yes! Melting plastic produces fumes and odors. For best results, melt the beads in a toaster oven outdoors.
- Preheat oven to 400 degrees.
- Line the pan with tinfoil, or parchment paper, to prevent ornaments from sticking.
- Place the ornaments on top of the tinfoil and fill with a single layer of beads. Arrange beads with a toothpick or bamboo skewer.
- Place the pan into the oven and check often. Melting times vary depending on your oven. It will likely take around 15 minutes for the beads to melt. When the hole in the center of each bead disappears, the fall leaves are ready!
- Pull the pan out of the oven and allow to cool completely. Remove the autumn leaf cutters by gently pulling the shape from the edge of the melted beads.
- If desired, create a hanging leaf window craft by drilling a hole at the top of each leaf and threading with a thin ribbon.
There are many more cool melting bead ideas for other holidays and seasons. You can extend the science by melting beads in the oven to make suncatchers all year long!
Extend the Activity:
Muffin Tin
Don’t have leaf cookie cutters? No problem! Place the fall-colored beads in a muffin tin for beautiful results.
Experiment
If you want to take this activity from an art project to a scientific experiment, alter the ingredients, temperature, or time and record the results.
Change the Beads
Use a Perler bead pattern and compare the process and/or results. Which one turned out better? Why?
Omit the Oven
Melting beads with kids isn’t for everyone. Create equally adorable ornaments by placing foil confetti and glitter between two pieces of contact paper.
Counting Skills
Work on counting skills as you place the beads into the leaf cutters.
More Fall Crafts You’ll Love:
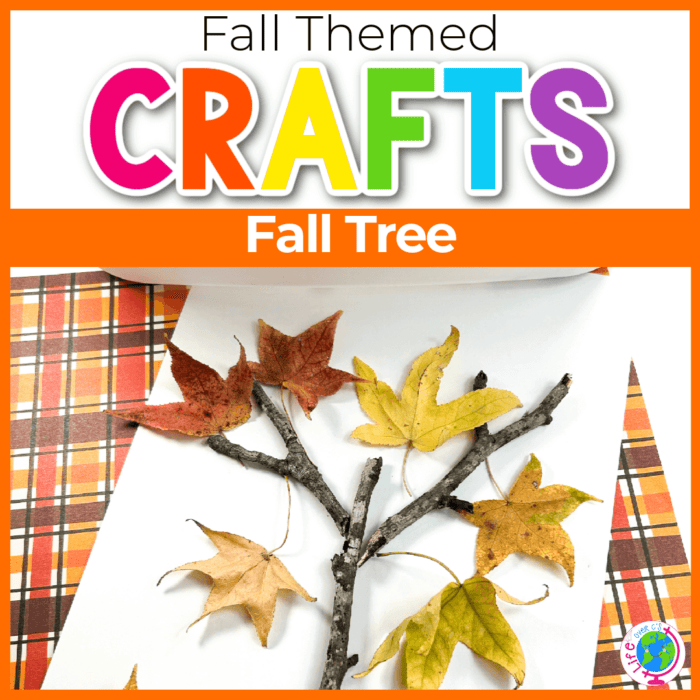
Looking For More Fall Crafts?
Still Looking For More Fall Crafts?
- Fall Calico Corn Salt Painting
- Fall Marble Painting For Kids
- Fall Leaf No Mess Painting in a Bag
- Easy Turkey Crafts For Fall
- Awesome Acorn Themed Fall Activities
Search All Activities
Looking for more? Find exactly what you need here:


