Easy DIY Glitter Easter Eggs
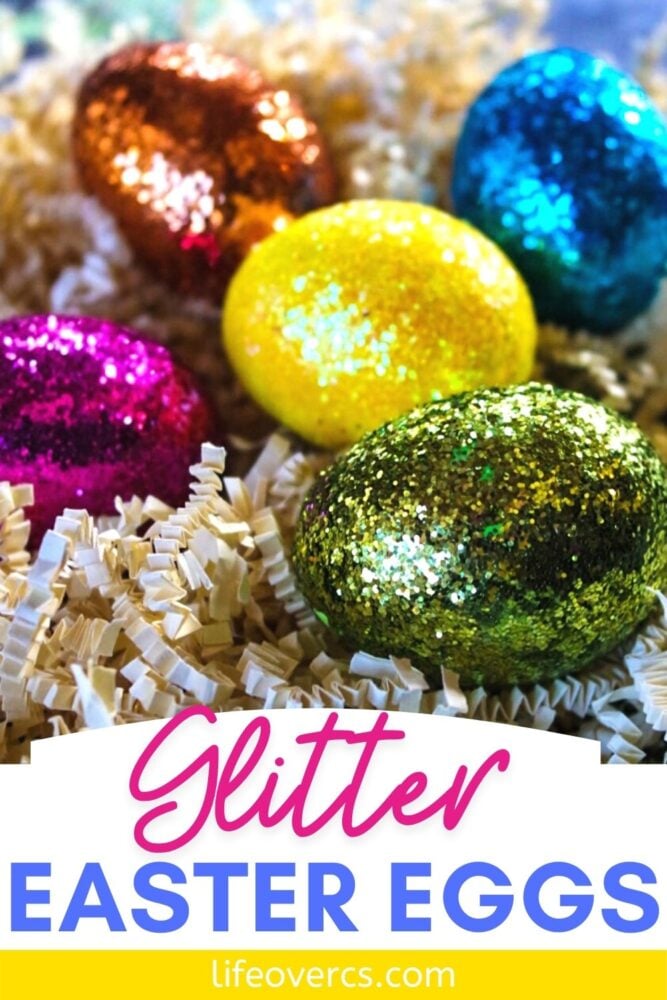
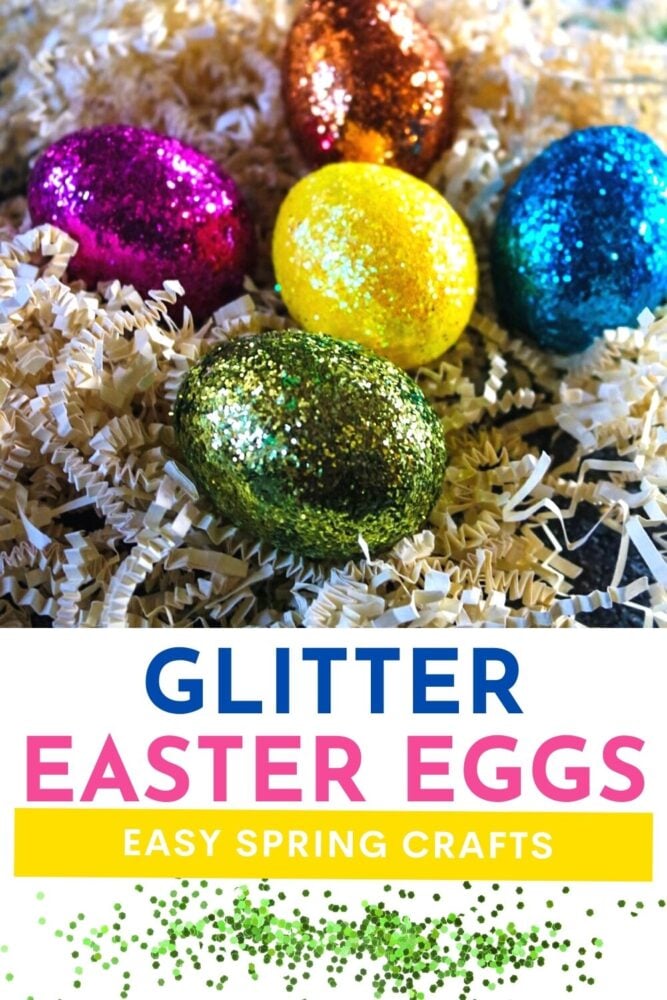
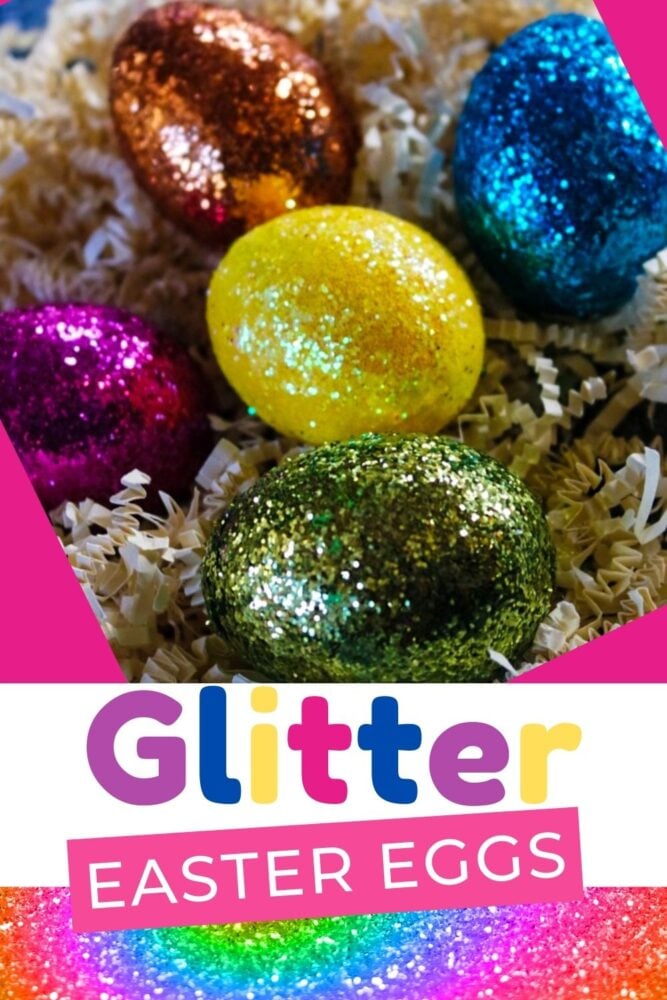
Glitter makes everything better, including Easter eggs! Adding glitter is an easy way to add a little extra sparkle to your Easter eggs this year. These Easy DIY Glitter Easter Eggs are a fun twist on the traditional way of Easter egg decorating for kids with food coloring, vinegar, and water.
Using just a few simple materials, you can create these glitter Easter eggs that are sure to catch everyone’s eye this year.

Recommended Grade Level:
How To Make Easter Eggs With Kids:
Helping my kids decorate Easter eggs is easily one of my favorite spring traditions.
The potential mess can make it seem a bit intimidating, but there are a few things you can do to set yourself up for success and a minimal amount of mess.
- Hard boil and cool your eggs ahead of time so they are ready to go. This is a good task to do the day before you want to decorate your eggs.
- Regardless of if you are doing an Easter craft, creating dyed eggs, or these fun glitter eggs, it is always a good idea to set up your materials ahead of time.
- Consider using an old cardboard box top, shoe box lid, or plastic craft tray to keep the mess contained.
- Cover your table in old newspaper or white drawing paper for easy clean up.
- Pick one or two Easter egg dying ideas for kids for one sitting to avoid too many projects going on at one time.
- For another Easter egg decoration idea, decorate plastic Easter eggs instead of hard boiled eggs with small children. They will love painting the plastic eggs, coloring on them with permanent markers, and using stickers or washi tape to make them beautiful. Hide your plastic eggs after you decorate them for a fun Easter egg hunt.
How To Make Glitter Easter Eggs:

Instructions:
Gather all of your materials for this DIY Easter Eggs for kids project.
Prepare your hard boiled eggs. Cool them completely before you begin.
Dry the eggs off with a paper towel if they have any moisture on them.
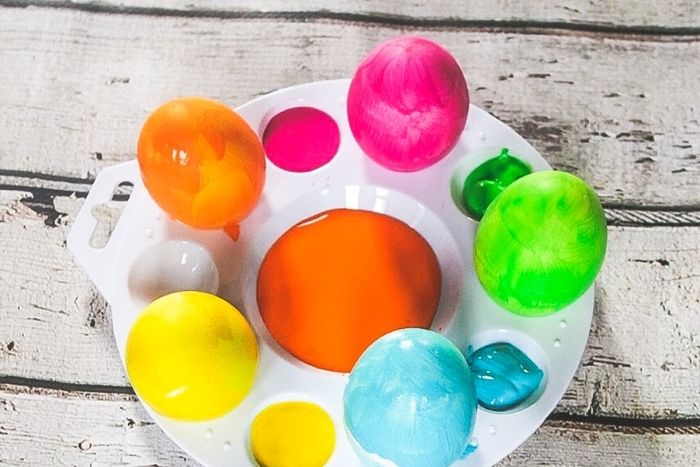
Set up your paint and glitter, putting coordinating colors together. (blue paint with blue glitter, pink paint with pink glitter, etc…)
Pour each color of glitter into a separate plastic cup.
Now it’s time to paint your eggs! Make sure they are completely covered in paint and allow them time to dry.
Using a brush, apply a thick layer of mod podge or white elmers glue onto the egg.

Place the egg with the freshly applied mod podge or glue into the cup of glitter that matches the paint color on the egg.

Shake and move the cup around, and roll the egg until it is completely covered in an even coat of glitter.

Allow the eggs to dry for at least an hour.
Enjoy your glitter eggs!
Other Ideas For Glitter Eggs For Easter:
- Use multiple colors on one egg to create a rainbow glitter egg.
- Put dots of glue onto the egg and only apply glitter to those spots for a polka dot glitter egg.
- Apple stripes of glue and glitter for a striped glitter egg.
- Use the glue to write a word, your child’s name, or the first letter of their name onto the egg.
More Easter Egg Activities You’ll Love:
Looking For More Easter Egg Ideas?
How About Even More Great Easter Activities?
- Galaxy Easter Egg Dyeing for Kids
- Easter Egg Math Puzzle
- Matching Easter Eggs Sensory Bin
- Easter and Spring Sensory Bin
- DIY Easter Bunny Basket from Milk Jug
Search All Activities
Looking for more? Find exactly what you need here:

