Easy Snowflake Winter Sensory Bottle for Preschoolers
There’s something so magical about being a little kid, looking outside, and seeing snow falling from the sky! It’s such a peaceful and mesmerizing experience. Making sensory bottles is easily one of our favorite activities! Snowflake Winter Sensory Bottle for Preschoolers are the perfect way to captivate the attention of your little ones and capture the spirit of winter into a bottle!

Recommended Grade Level:
What Are Sensory Bottles?
DIY sensory bottles like this one are fun and easy to make! Some other names for sensory bottles include calm down sensory bottles, calm down jars, and discovery bottles!
Simply put, a sensory bottle is a bottle that when turned or shaken stimulates the senses. Sensory bottles are also known as calm down bottles because the slow, gentle movement of the contents can be mesmerizing and soothing for an upset child.
To create a sensory bottle you need liquid and a filler!
- Liquid: A combination of water and another liquid such as clear glue, glitter glue, hair gel, oil, or corn syrup make the base of a sensory bottle. Food coloring can be added to the liquid to create a colorful sensory bottle!
- Filler: Fillers like glitter, confetti, sequin, beads, or small toys are added to the liquid in a sensory bottle.
Sensory bottles are not only great for sensory development, but they are also wonderful for strengthening fine motor skills! Children will love this winter sensory bottle idea!
How To Make A Winter Sensory Bottle:
Instructions:
Pour one 6 ounce bottle of glue into the empty clear bottle.
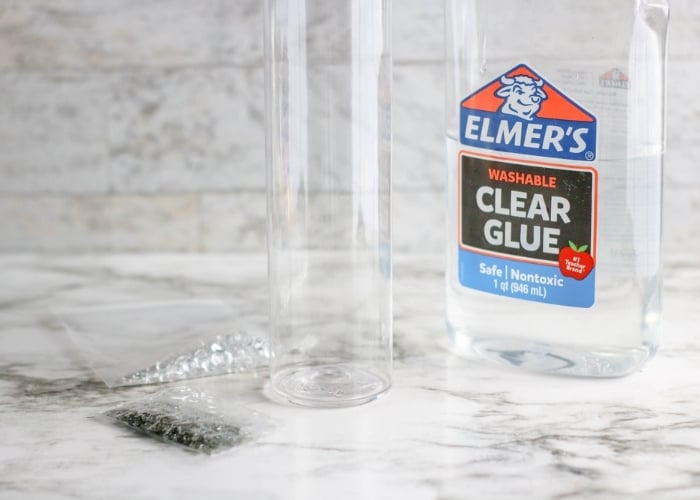
Fill the empty glue bottle about halfway full (around 1/4 of a cup) with warm water. Put the lid on the glue bottle and shake it up to mix the water and the excess glue.
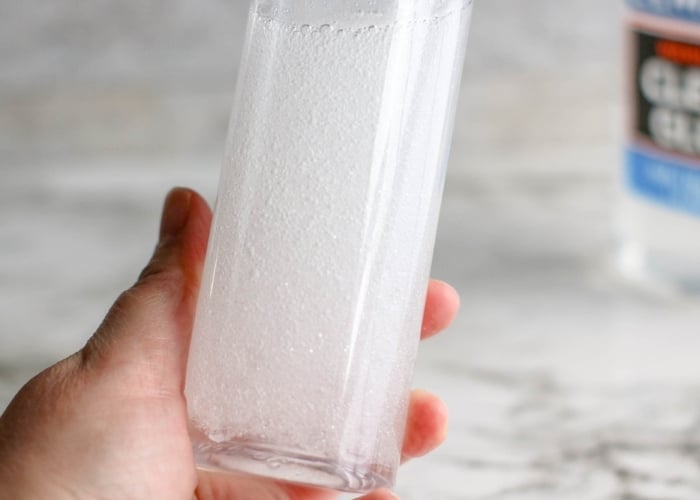
Pour the mixture from the glue bottle into the clear sensory bottle. Shake or stir to combine the water and glue.
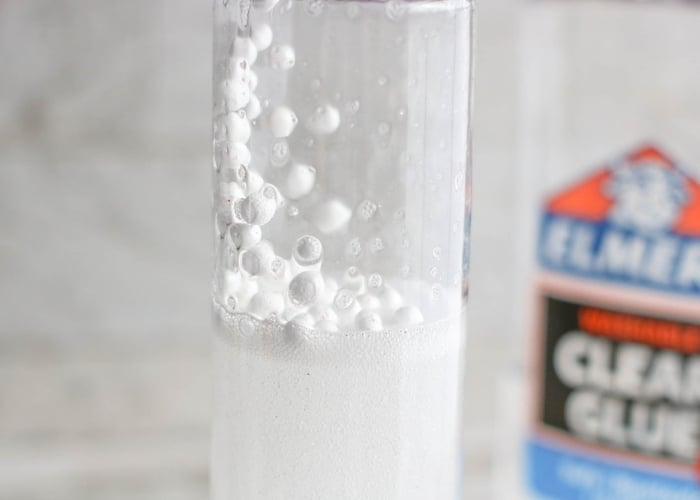
If you are planning on adding glitter or toys to your bottle, add some of them in. (Adding some snowflake shaped toys or glitter can make this into a snowstorm sensory bottle!)
Place the lid onto the sensory bottle and shake the bottle to mix the glitter, toys, glue, and water.
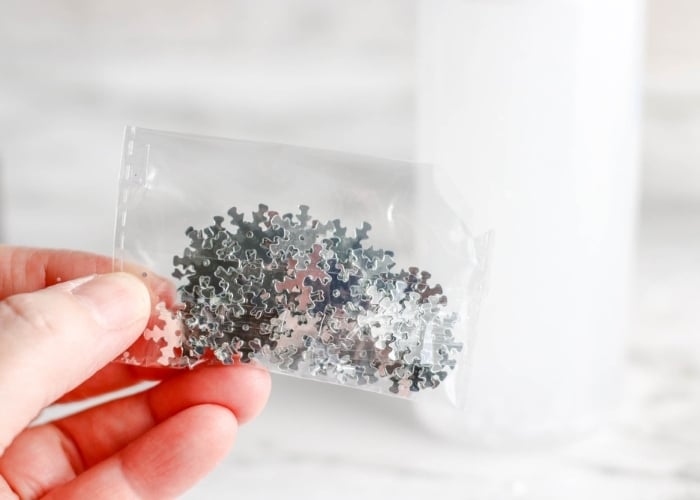
If the glitter and toys move too quickly, add in more clear glue. If the glitter and toys move too slowly, add in more warm water.
Continue to add toys, glitter, water, and glue in small amounts until you have achieved your desired consistency of liquid and amount of toys and glitter in your bottle.
Leave a small amount of space at the top so your liquid does not overflow.
Once you are happy with the way your sensory bottle looks, glue the top on to seal it.
You can cover the lid with winter theme duct tape, or decorate it however you would like!

Get 35+ Winter Themed Math & Literacy Activities in One Bundle
Included in the Winter Math and Literacy Pack:
- 2 Sets of Number Mats (empty ten-frame, filled ten-frame)
- Beginning Sound Match Up
- 4 Sets of Clip Cards (color, ten-frame, array, shape)
- Winter and Summer Clothing Sort
- Class Set of Ten-Frame BINGO
- 2 Graphing Dice Games
- 2 Spinner Graphing Games
- Line Tracing Cards
- Line-Up Puzzles for Counting to 5 & 10
- 4 Matching Games (picture, number, alphabet, rhyme)
- Missing Number Cards
- 3 Levels of AB Patterns
- Winter Play Dough Mats
- 2 Sets of Counting to 10 Puzzles (array, ten-frame)
- 2 Roll and Count Mats
- 2 Sets of Sorting Activities (shapes and big/small)
- 5 Spin & Cover Games (1-5, 6-10, shape, picture)
- Tic-Tac-Toe
- 4 Sets of Tracing Cards (uppercase, lowercase, number, shape)
- Visual Discernment Clip Cards
- Trace, Write & Draw the Room
- Ten-Frame Cards
Snow-Themed Printables to Try Next
- Snow Theme Emotions Board Game
- Snowman Alphabet Tracing Worksheets
- Winter Theme Printable 2D Shape Posters
More Snow-Themed Sensory Activities
Check out a few of our sensory bottles for the entire year
- Lemon Sensory Bottle for Summer
- New Year’s Sensory Bottle
- Unicorn Sensory Bottle
- Easter Sensory Bottle
- St. Patrick’s Day Sensory Bottle
Search All Activities
Looking for more? Find exactly what you need here:




![Numbers 0-20 Slap It! Card Game for Kindergarten Math Centers 19 square image with screenshots of eight number playing cards with ten-frames, domino, tally marks, numeral, array, place value notation text says [math card games numbers 1-20 slap it card game]](https://lifeovercs.com/wp-content/uploads/2015/03/Numbers-1-to-20-Slap-It-Card-Game-1-768x768.png)
